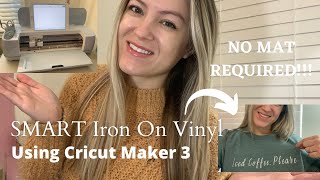
How to Use Cricut Smart Iron On: Step‑by‑Step Instructions
If you’re looking to personalize shirts, tote bags, or any fabric project, Cricut Smart Iron On (SIO) offers a fast, reliable way to apply heat‑transfer designs. This guide walks you through everything you need to know— from gathering supplies to finishing your finished piece—so you can achieve professional‑looking results every time.
What Is Cricut Smart Iron On?
Cricut Smart Iron On is a line of heat‑transfer vinyl (HTV) that bonds to fabric when exposed to heat and pressure. The material is designed for use with Cricut cutting machines, and it comes in a wide range of colors, finishes (glossy, matte, glitter, neon) and sizes. Because the vinyl is pre‑cut to the exact dimensions of your design, you simply load the sheet into your Cricut, cut the artwork, weed away excess material, and then apply it with an iron or heat press.
Supplies You’ll Need
- Cricut Smart Iron On sheet (choose the color and finish that matches your project)
- Cricut cutting machine (Explore, Maker, or Joy)
- Weeding tool (or a tweezers set)
- Heat source — a household iron or a heat press
- Protective sheet — a silicone press sheet, parchment paper, or a clean cotton cloth
- Flat, heat‑resistant surface (an ironing board works well)
- Fabric item (cotton, polyester blends, or a cotton‑poly blend that can withstand 305°F/150°C)
Preparing Your Design
- Open Cricut Design Space and create or import the artwork you want to apply.
- Set the material setting to “Smart Iron On.” This tells the machine to use the correct blade depth and cutting pressure.
- Mirror the design if you are applying it to the front of a garment. For back‑printing, you can skip mirroring.
- Load the Smart Iron On sheet onto the cutting mat, smooth side down. Align the sheet so the adhesive side faces the mat.
- Press “Cut” and let the machine finish. The vinyl will be cut precisely around your design.
Weeding the Vinyl
Weeding removes the excess vinyl that you don’t want on the final product. Follow these steps for clean results:
- Place the cut sheet on a light‑colored surface. This makes the cut lines easier to see.
- Use a weeding tool to lift away the small pieces of vinyl that are not part of the design.
- If your design contains small letters or intricate details, a pair of tweezers can help pull out tiny bits without damaging the main shape.