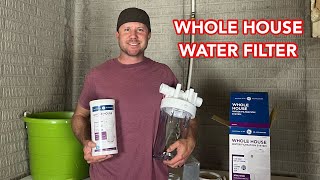
GE Smart Water Filtration System: Overview and Benefits
The GE Smart Water Filtration System is designed to provide whole‑house protection against sediments, chlorine, and other contaminants that affect taste and odor. By integrating advanced filtration media with smart monitoring technology, the system delivers consistent water quality while alerting homeowners when filter changes are needed. This article explores the key features, installation process, and maintenance tips to help you decide if this solution fits your household.
Key Features of the GE Smart Water Filtration System
GE’s smart filtration unit combines several components that work together to ensure clean water throughout your home:
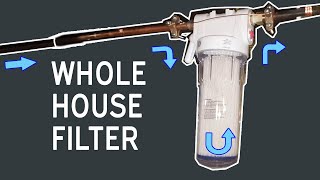
- Multi‑stage filtration: A pre‑filter removes large particles, while an activated carbon stage reduces chlorine and volatile organic compounds.
- Smart sensor technology: Built‑in flow sensors track usage and send notifications to a mobile app when it’s time to replace the filter.
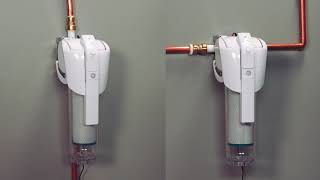
- Easy‑install design: The system is compatible with standard ¾‑inch pipe connections, making it suitable for most residential plumbing setups.
- Durable housing: A corrosion‑resistant enclosure protects the internal components from leaks and external damage.
Installing the GE Smart Water Filtration System
If you’re comfortable with basic plumbing tasks, you can install the system yourself. Below is a quick walk-through of how to change your filter and set up the unit for the first time.
Tools and Materials Needed
- Adjustable wrench
- Pipe cutter (if cutting new pipe is required)
- Thread seal tape
- Bucket or towels for any water runoff
- GE Smart Water Filtration System kit (includes housing, filter cartridge, and mounting hardware)
Step‑by‑Step Installation Guide
- Turn off the main water supply. Locate the shut‑off valve near the water meter and open a faucet to relieve pressure.
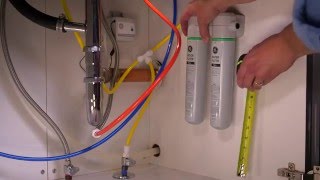
- Position the housing. Choose a location close to the main water line, preferably in a utility room or basement where there is enough clearance for maintenance.
- Cut the pipe. Using a pipe cutter, remove a short section of the existing pipe where the housing will be installed. Keep the cut ends clean and free of burrs.
- Attach the housing. Apply thread seal tape to the male threads on both ends of the housing, then screw the housing onto the pipe using an adjustable wrench. Ensure a snug fit but avoid over‑tightening.
- Insert the filter cartridge. Open the housing, place the filter cartridge inside, and close the housing securely.
- Restore water flow. Turn the main