How to Hook Up a Super Nintendo to a Smart TV
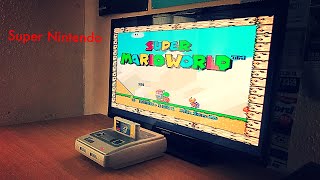
Do you love playing old video games? The Super Nintendo Entertainment System (SNES) still delivers classic fun, but most modern homes now feature smart TVs instead of the CRT sets the console was designed for. We will walk you through the simple process of connecting your SNES to a smart TV so you can enjoy retro titles on a large, high‑definition screen.
What You Need
Make sure you have all the right wires, for your connection type. Most SNES consoles use the standard composite video cable (red, white, and yellow). Depending on your TV’s inputs, you may also need an adapter. Below is a quick checklist:
- SNES composite cable – the original red (audio left), white (audio right), and yellow (video) plugs.
- HDMI converter – a composite‑to‑HDMI adapter if your TV lacks composite inputs.
- Power source – the SNES power brick and an outlet.
- HDMI cable – to link the converter to the TV.
Step‑by‑Step Connection Guide
In this quick tutorial I will show you how to hook up the console without any guesswork. Follow the steps in order, and you’ll be ready to play within minutes.
-
Locate the composite ports on the SNES. The yellow plug is video, while the red and white plugs carry stereo audio. If you dig out your old SNES from storage, these ports will be on the back of the console.
-
Connect the composite cable to the TV. If your smart TV includes composite inputs (often labeled AV or Video), plug the yellow, red, and white connectors directly into the matching ports.
-
Use an HDMI converter if needed. Many newer TVs only have HDMI ports. Plug the composite cable into the converter, then connect the converter’s HDMI output to an available HDMI input on the TV using the HDMI cable.
-
Power up the SNES.