Hunter Smart Sprinkler Controller: An In‑Depth Overview
The Hunter Smart Sprinkler Controller has become a staple for homeowners who want precise water management without the hassle of manual programming. By integrating wireless communication, a user‑friendly mobile app, and advanced sensor technology, the system adapts irrigation schedules to real‑time weather conditions, helping you conserve water while maintaining a healthy lawn.
Key Features and How They Work
Understanding the core components of the Hunter Smart Sprinkler Controller will help you decide whether it fits your irrigation needs.
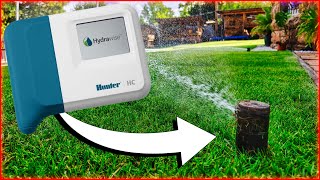
- HydraWise® App – The companion app provides a single dashboard for monitoring zones, adjusting run times, and receiving alerts. It syncs automatically with the controller, allowing you to make changes from any smartphone.
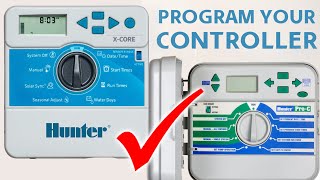
- HPC Face Panel – The revolutionary HPC (Hybrid Programming Console) face panel offers a tactile interface for quick on‑site adjustments. Its backlit display shows zone status, rain delays, and upcoming cycles.
- Wireless Connectivity – Built‑in Wi‑Fi enables seamless communication with the app, weather services, and optional soil moisture sensors.
- Weather Integration – The controller pulls data from reputable weather sources to modify watering schedules based on precipitation forecasts, temperature, and evapotranspiration rates.
Setting Up the Controller – A Step‑by‑Step Guide
If you’re new to the system, the following steps will get your controller up and running. For a visual walkthrough, see the UPDATED VIDEO – HOW to SET UP posted by Bruce Warner.
- Mount the Controller – Install the unit on a stable surface near a power source. Ensure the antenna is clear of obstructions for optimal Wi‑Fi reception.
- Connect Power and Sensors – Plug the controller into a standard 120 V outlet. Attach any soil moisture or rain sensors according to the wiring diagram.
- Download the HydraWise® App – Available for iOS and Android, the app guides you through network configuration and zone mapping.
- Pair the Device – Follow the on‑screen instructions to connect the controller to your home Wi‑Fi network. The app will confirm a successful link.
- Program Zones – Use the app or the HPC face panel to assign each sprinkler head to a zone, set preferred start times, and define maximum run lengths.
- Enable Weather Adjustments – Activate the automatic weather response feature. The controller will now adjust watering based on forecast data.
Using the HydraWise® App for Ongoing Management
Once installed, the HydraWise® app becomes the central hub for all irrigation activities.
- Real‑time Monitoring – View live status of each zone, including water flow and any fault alerts.
- Schedule Tweaks – Modify start